How To Automatically Print WooCommerce Orders To A Printer
Do you want to set up WooCommerce automatic order printing?
Constant checking of emails, tracking new orders and manually sending new order receipts to a printer can be time-consuming and tiring. Still, thanks to technology, you can automate all of these repetitive tasks by setting up an automatic WooCommerce order printing system.
Setting up an automatic WooCommerce order printing for your online store is a great way to improve your business efficiency and productivity.
Printing of order receipts and invoices is an important aspect of various online businesses such as WooCommerce food delivery websites, e-commerce stores, cafes, online restaurants, warehouses, fulfilment centres and more.
If you own any such business that allows online ordering, manually checking and monitoring of new orders can be overwhelming especially if you have a large customer base with orders trickling in at every hour, you might find it difficult to keep up and this will affect your service delivery.
Luckily for you, this problem can be solved with automation, you can save time, improve your deliveries and reduce your manpower by setting up an automated WooCommerce order printing system.
By using a WooCommerce printing plugin such as Printus and a remote printing service such as PrintNode, you can add the capability to automatically print out your WooCommerce orders, receipts, packing slips and more from your WooCommerce store.
In this article, we will learn more about Printus and PrintNode and how to set up automatic order printing on your WooCommerce store in simple steps.
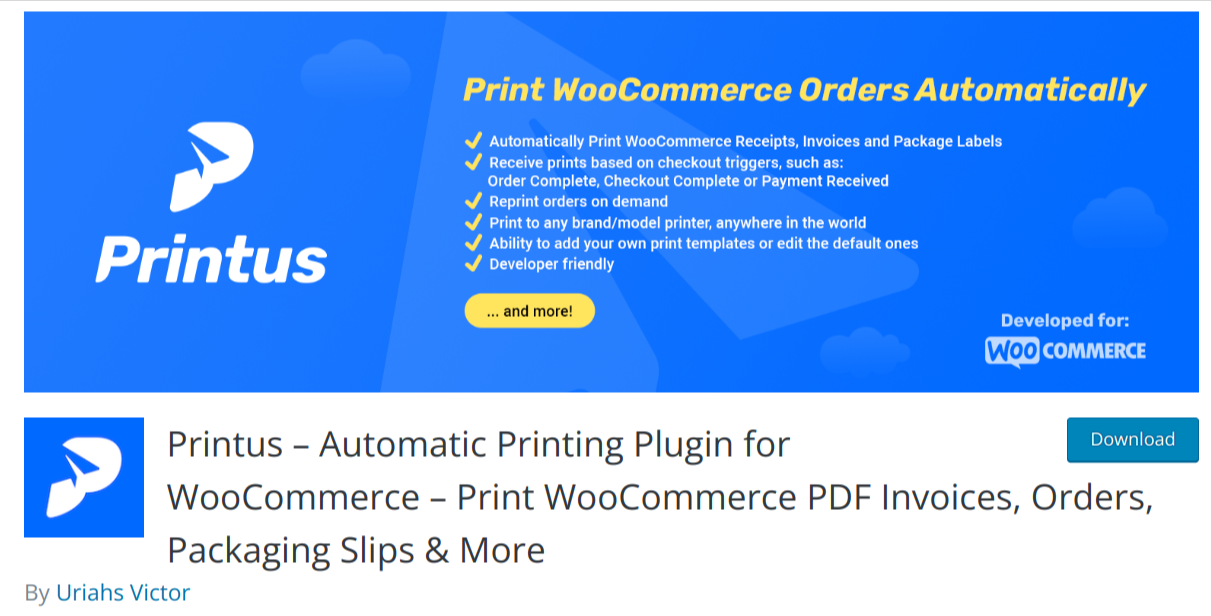
What is Printus?
Printus is a WordPress cloud printing plugin that allows you to automatically print WooCommerce order receipts, shipping labels, packing slips, invoices and more to your printer, anywhere around the world.
Whether you are a retail store, or a restaurant who wants to instantly send new orders to your printer, Printus is the perfect solution for you, it will save you time and enable you to fulfil your orders faster.
With Printus, you are in complete control of your printing workflow, you can configure it to print your customers’ orders based on various triggers such as order complete, payment complete or checkout complete, and you can also create your custom triggers to suit your business needs.
Printus takes away the need for constant monitoring of your emails and manual processing of WooCommerce receipts, once you set it up, you can sit back and watch your orders come through automatically after a customer places an order.
Printus works with the PrintNode API, it allows you to seamlessly connect the PrintNode API to your WooCommerce store, enabling you to leverage the PrintNode service to print orders from your printer anywhere in the world automatically.
Another good thing about Printus is that it works with other popular WooCommerce plugins such as Extra Product Options For WooCommerce, Product Addons for Woocommerce, Extra Product Options & Add-Ons for WooCommerce and Product Addons by WooCommerce. With these integrations, you can add custom fields to your order forms and also include them in your order receipts printout.
Printus Key Features:
- No hardware dependencies. It works with any printer you have.
- Trigger-based printing. Printus allows you to select a trigger that will initiate a print job for a customer order.
- Highly customizable via a settings panel.
- Supports receipt printers
- Supports low-power systems such as Raspberry Pi.
- Developer Friendly with hooks and actions available for customization.
- Provides Configurable templates. Use premade templates or create your own
- Integration with other WooCommerce plugins.
Printus is a complete solution for anyone looking for an automatic WooCommerce order printing solution, it will allow you to print any type of documents from your WooCommerce store orders. Click here to get Printus for Free.
What is PrintNode?
PrintNode is a hosted printing service that connects your printers to the internet, providing a variety of features including the ability to print from anywhere in the world.
PrintNode works on Windows, Mac, and Linux; it works on any printer that is connected to a computer with internet access. The PrintNode software will automatically detect all printers connected to your computer and sync them with your PrintNode account, making these printers available for your WooCommerce order printing.
All you need to do is create an account on the PrintNode website, install their software on your computer, get your API key and add it to the Printus plugin on your WooCommerce website.
Printus will connect with PrintNode and automatically print your WooCommerce order receipts from your printer. PrintNode offers you a one-month unlimited free access when you sign up, which means you get unlimited print jobs for a month. After which your account can be downgraded to the free tier allowing 50 prints per month.
How to Set Up Automatic WooCommerce Order Printing with Printus
So far, we have learnt about Printus, PrintNode and some benefits of setting up an automatic WooCommerce order printing system for your online business.
Next is for us to see how to set up and configure our WooCommerce website for printing with our physical printer and we will do just that in the steps below.
1. Create a PrintNode Account and Install PrintNode on Your Computer
As you already know, Printus works with PrintNode, so the first step in this process of setting up WooCommerce order printing is to create an account with PrintNode, you can do this by going to the PrintNode website and clicking the signup button to start the registration process. Creating an account is free and they do not require your card details.
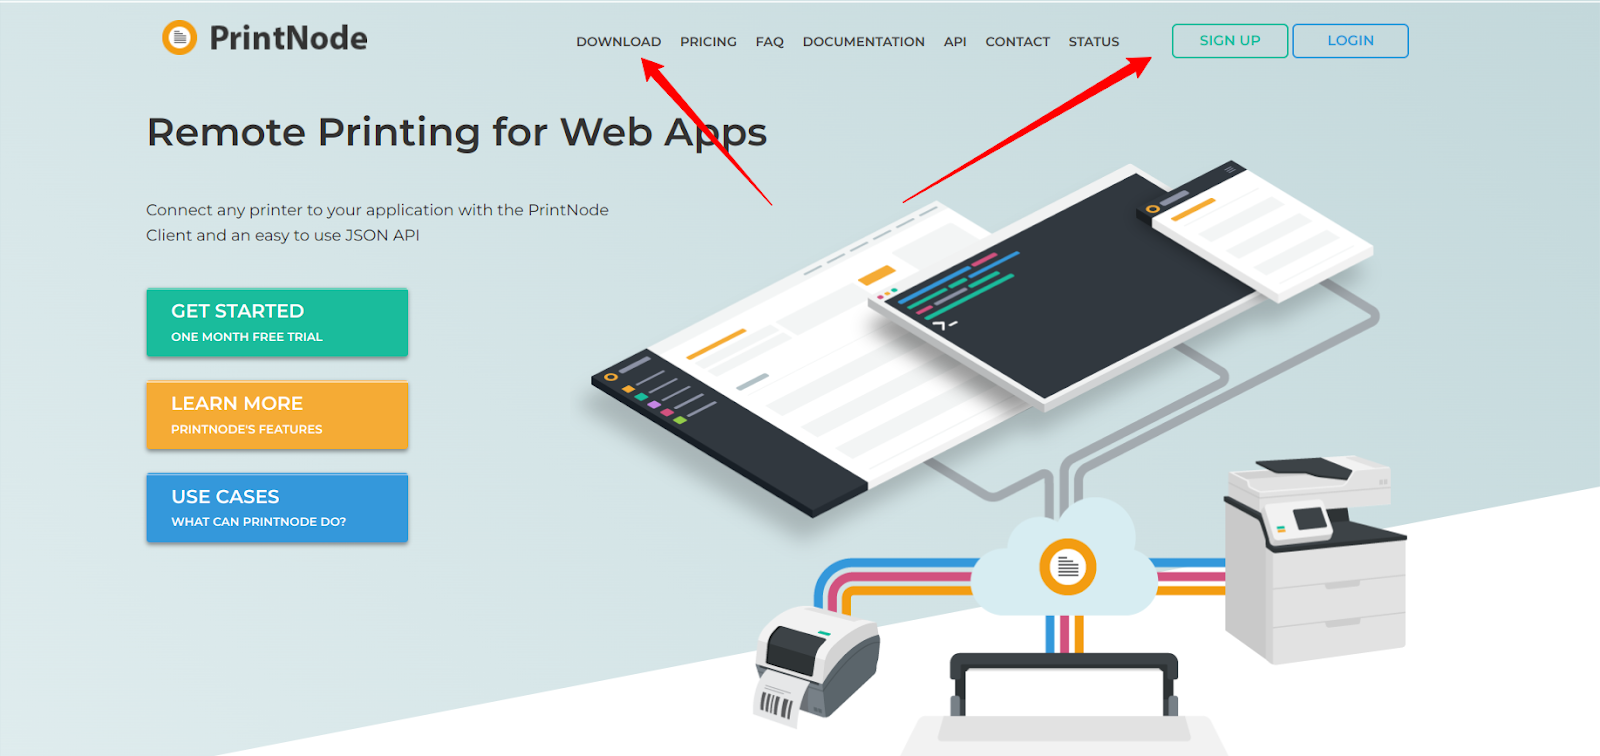
Next, click on download on the PrintNode website to download a suitable PrintNode client to your computer. There are various versions of this software on the download page, make sure you select the one that matches your computer’s operating system.
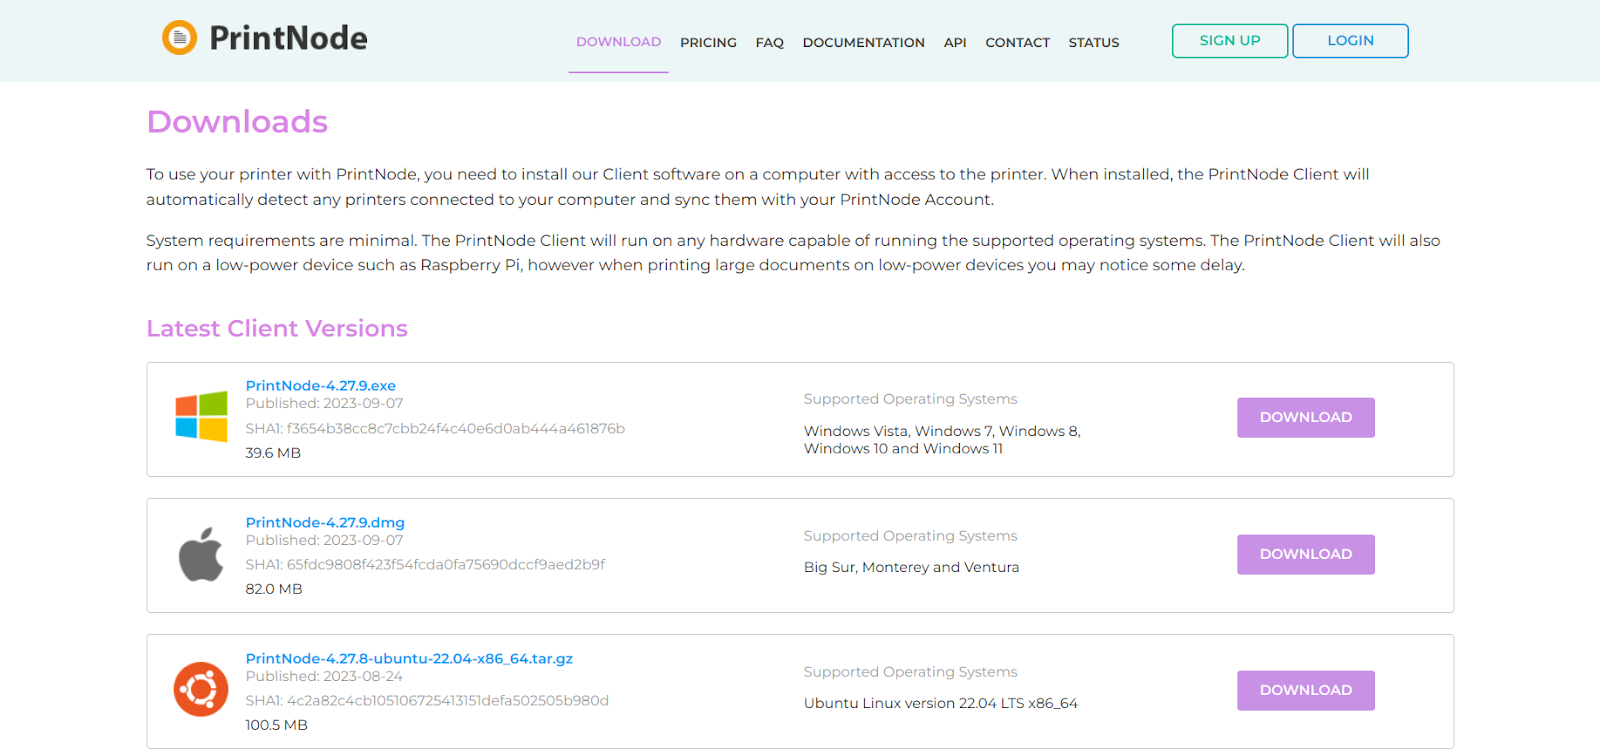
The PrintNode client supports the major Operating Systems: Windows, MacOS and Linux. So, you are bound to find one that works for you. After downloading the software, follow the setup instructions and install it on your computer.
You can also read the install instructions here: Installing PrintNode.
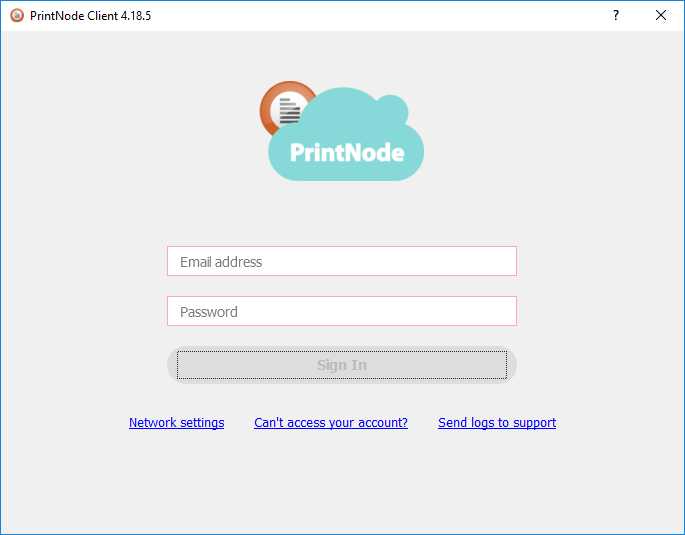
After successful installation, launch the software and log in to your PrintNode client with the credentials you created during your signup process. Now, your computer will be connected to your PrintNode cloud account.
2. Test Your Set Up
The next step is to confirm that your PrintNode client on your computer and your PrintNode cloud account are connected successfully. So, log into your PrintNode account from their website and click on “Devices”.
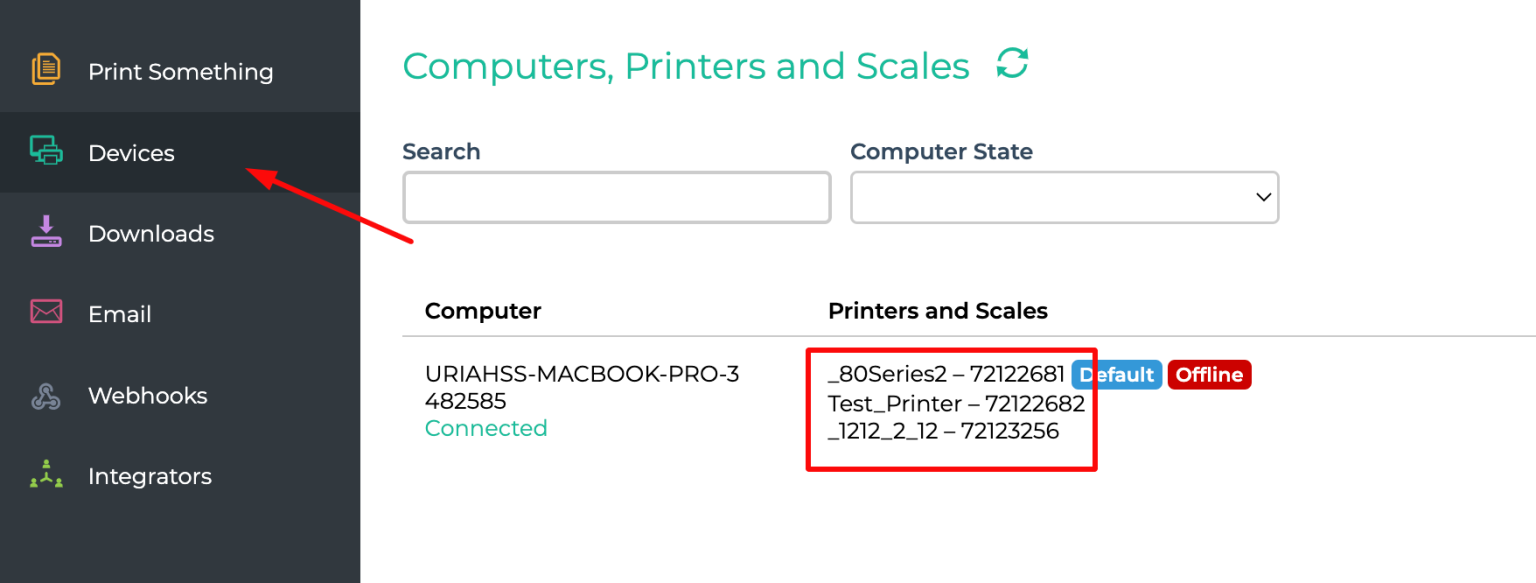
On the Devices page, check if your printers are listed there. If your printer is not showing, you can click the refresh icon to reload the printer list. If you do not see any printers, and you believe that you’ve set up everything correctly, then reach out to PrintNode support.
If your printer shows then go to the “Print Something” tab to make a test print.
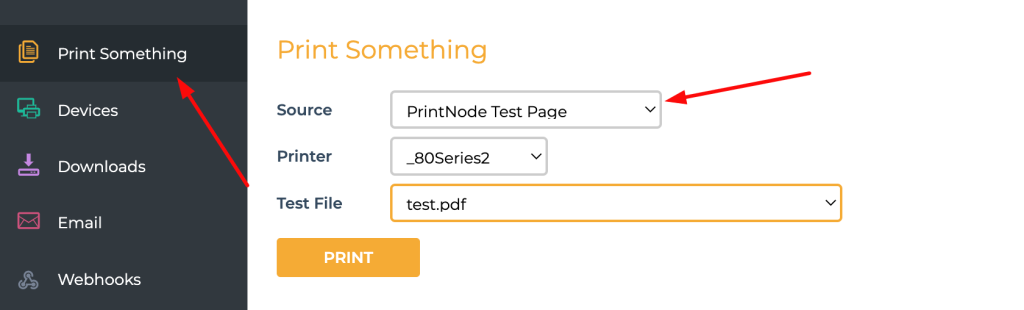
Various test files are available to you for testing your PrintNode setup and you can also upload your files to check the output from your printer. To use the provided test files, change the option for Source to “PrintNode Test Page” and then select the test file.
Click on the Print button and your printer should start printing the document.
3. Install and Activate the Printus Plugin
Now that you have been able to set up PrintNode and test your printer, the next step is to install Printus on your WooCommerce site. This will enable your WooCommerce store to talk to PrintNode and send your order receipt to your printer.
Login to your WordPress dashboard, and navigate to plugins. Click on Add New and search for Printus.

Click on Install and then Activate the Plugin. Once the plugin is activated, you will see a new options menu called “SoaringLeads” by the left pane of the dashboard. This is where you can find the Printus settings anytime you need to edit or customize your printing setup.
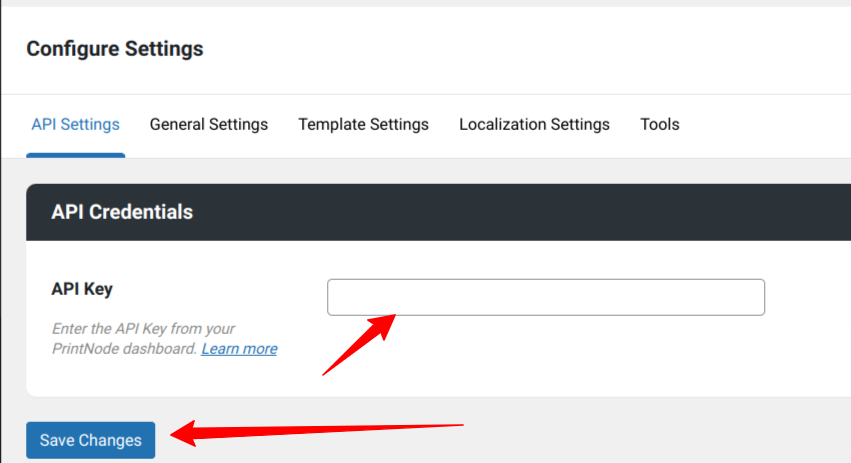
4. Retrieve and Add Your PrintNode API Key
For Printus to start sending your WooCommerce orders to your printers, you will need to provide your API key on the plugin settings page.
Head to the PrintNode website and log into your account, navigate to the “API Keys” section and create a new API key.
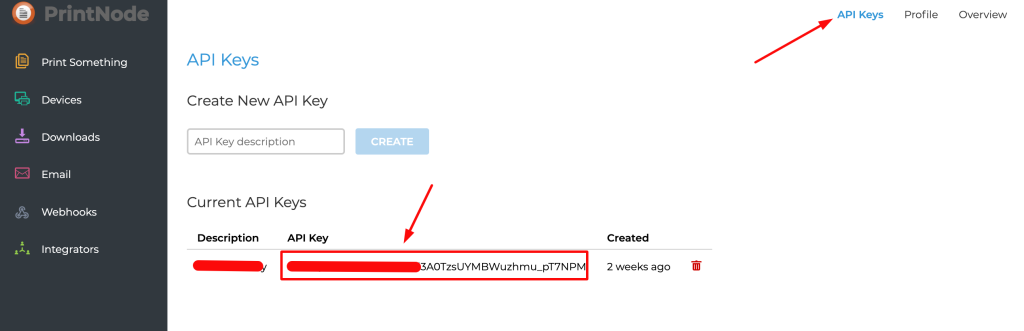
Copy and paste your newly created API Key into the Printus settings.
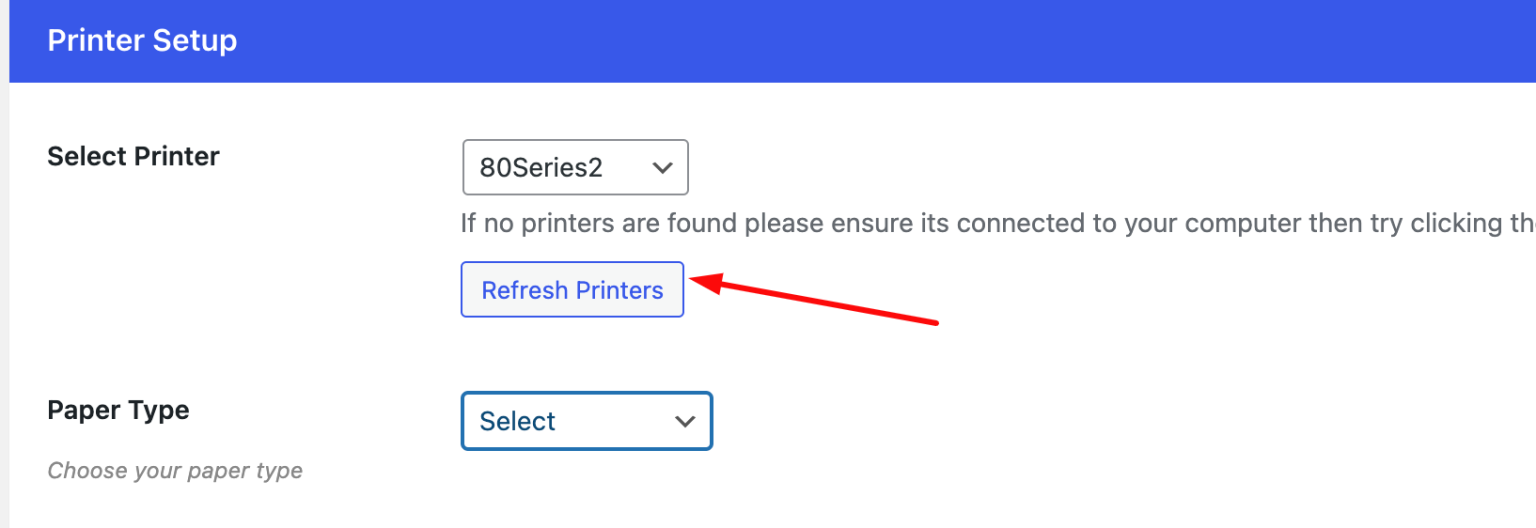
Once you have added and saved your API key on the Printus settings page, head over to the General Settings tab and scroll down to the Printers section.
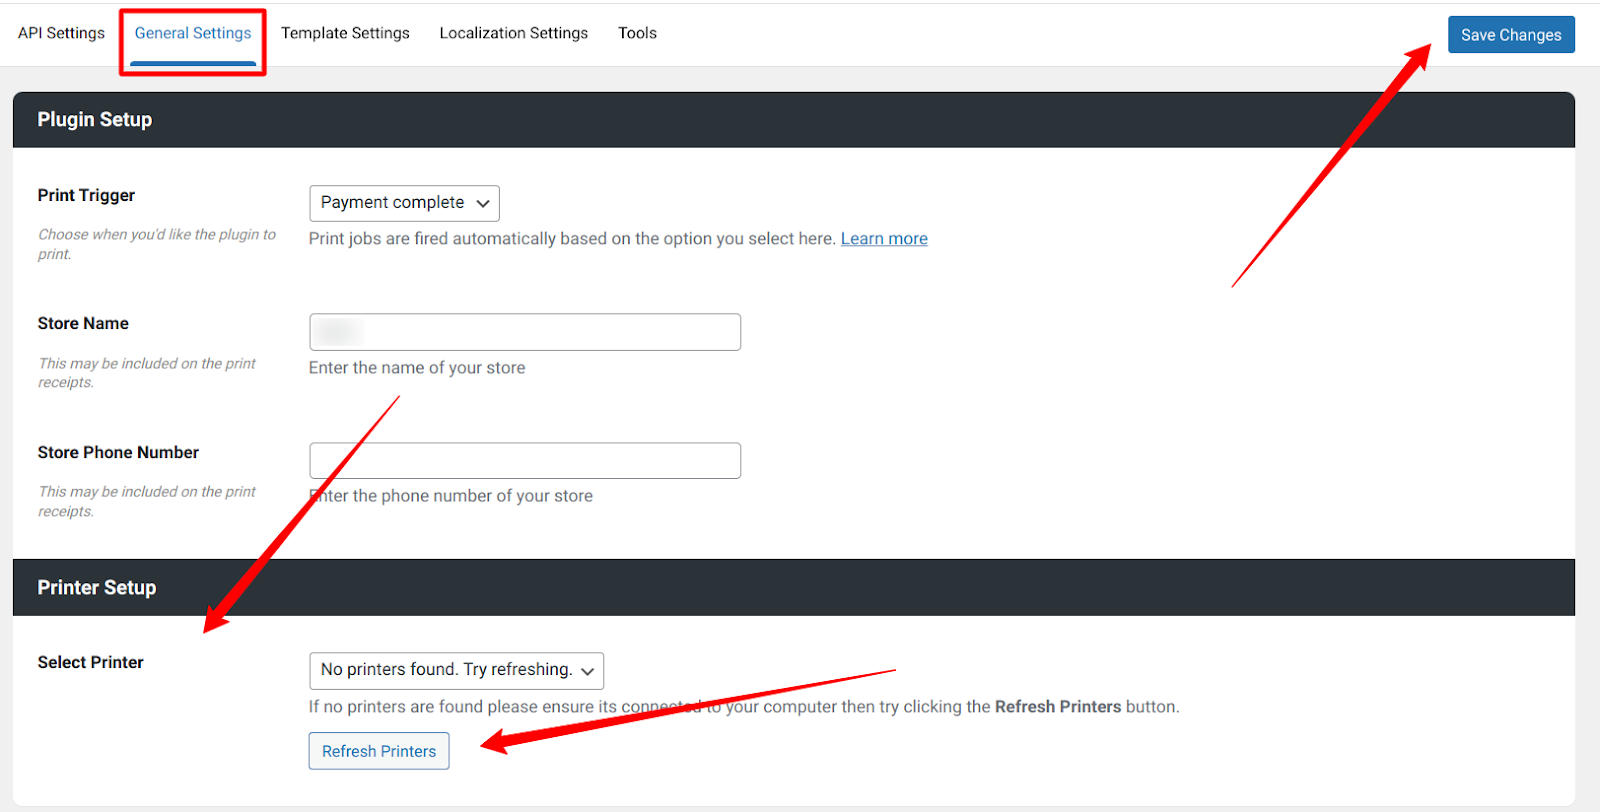
Click the “Refresh Printers” button so that all your available printers can show in the list. Then, you can select your desired printer for printing and click the save changes button to save it.
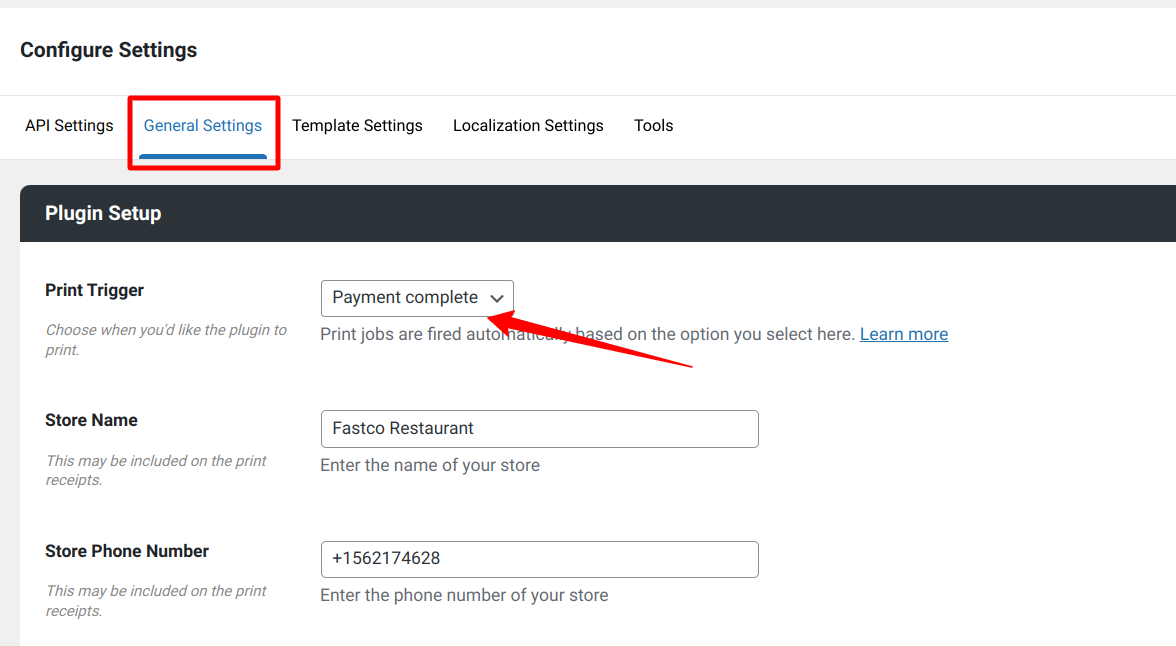
5. How to Set Up Print Triggers
Print Triggers as the name suggests are used to trigger a print job, it is used to trigger when an automatic print job happens.
Printus comes with three (3) inbuilt print triggers which are:
Checkout Complete Trigger
Fires a print job as soon as the customer finishes the checkout process i.e. arrives on the “Thank You” WooCommerce page.
Order Complete Trigger
Fires when the order is marked as “Complete”.
Payment Complete Trigger
Fires when the payment has been captured by the payment gateway and the order payment status is registered as “Complete”.
If any of these print triggers do not meet your needs, you can also create your custom triggers by making use of the printus_settings__print_trigger_options filter.
6. How to Set Up and Customize Your Templates
Printus lets you choose from two premade print templates for your print jobs. It has the Nimbus and Cumulus templates which work for various sizes of paper. The Nimbus template is suitable for 80mm size paper, while the Cumulus template is suitable for A4 size paper and above.
It is important to note that all stores are different and may require different information on their order receipts, so if any of the available templates do not suit your needs, you can get a custom template created for you. Click here to request one.

In the “Paper Type” option, Selecting “Default options” will present you with a list of standard paper sizes that you can use for your cloud printing, these standard sizes include 80mm continuous receipt paper, A4, Legal and Letter paper sizes.
If your desired paper size is not in the list, then select the “Enter manually” option to set the dimensions of the paper you wish to use.
You can also scroll down to the other sections of the template settings page to make changes to the font type and font sizes for your printouts.
Click on the “Save Changes” button to save your changes and that completes the setup of your automatic WooCommerce order printing system.
Printus vs. BizPrint
When it comes to WordPress remote printing and WooCommerce automatic order printing, one of the common solutions that pops up is BizPrint.
BizPrint is a cloud printing provider for WooCommerce. It allows you to automatically print WooCommerce order receipts, invoices and labels. Just like Printus, BizPrint allows you to print on any printer by installing their WordPress print manager plugin and also installing the BizPrint software on your computer.
Though BizPrint and Printus have similar features, there are a few things that set them apart and we will briefly discuss them here.
Firstly, Printus works with PrintNode API while BizPrint works with their proprietary infrastructure. PrintNode is an established and widely used cloud printing provider with thousands of customers all over the world and their printing infrastructure is reliable, fast and secure. They also have a responsive customer service team who are always happy to help if you encounter any difficulties.
PrintNode is also used and supported across various frameworks and web technologies, it is not just for WooCommerce and WordPress, it works with various technology stacks which means you easily integrate anywhere else outside of WordPress and still make use of your automatic printing system.
Lastly, let us talk about pricing. Pricing is a very important factor to consider when choosing tools and software that will power your business, if you don’t get it right, you might end up with a solution that costs you hundreds of dollars a month to maintain.
The Printus WordPress plugin is available for free on the WordPress.org plugin repository and PrintNode also offers a free lite plan which includes up to 50 prints per month at no charge, no invoice and no need to enter your card details but this is not the case with BizPrint.
BizPrint has an entry package priced at $3.00 per month with zero free printing, if you subscribe to this plan, you need to pay an additional $0.05 for each print job sent to your printer.
Furthermore, both PrintNode and BizPrint offer a $9.00 plan, this plan will get you 5,000 prints per month from PrintNode while you only get 100 free prints from BizPrint before you start getting charged for additional print jobs you send to your printer.
As you can see, if you are on a budget or if you want to keep your costs lower, Printus and PrintNode will be a better option for you and your business.
Wrapping it Up
Technology and software are here to make our lives easy and make our business run smoothly. By leveraging software such as Printus and PrintNode, you can automate your WooCommerce order printing and improve your business operations.
Printus will allow you to set up automatic printing for order receipts, packing slips, and more from your WooCommerce website at a reasonable price. Give Printus a spin today to experience how it can improve your business.
Leave a Reply